The first time I tried making gelatin cubes at home, I skipped a step I thought was optional. I dumped the powder straight into hot water and stirred. What I got was a lumpy, stringy mess that never set right, and it took me two more tries before my mother-in-law finally told me what I was missing. Blooming the gelatin isn’t a fussy extra step, it’s the whole reason a gel turns out smooth instead of grainy.
Once I understood bloom gelatin and why it matters, everything changed in my kitchen. My 3-Ingredient Gelatin Recipe finally set the way it was supposed to, every single time. This guide walks you through what blooming actually means, how to do it right with powder or sheets, and how to avoid the mistakes that ruin texture. By Chef Elise, TasteOurDish.com.
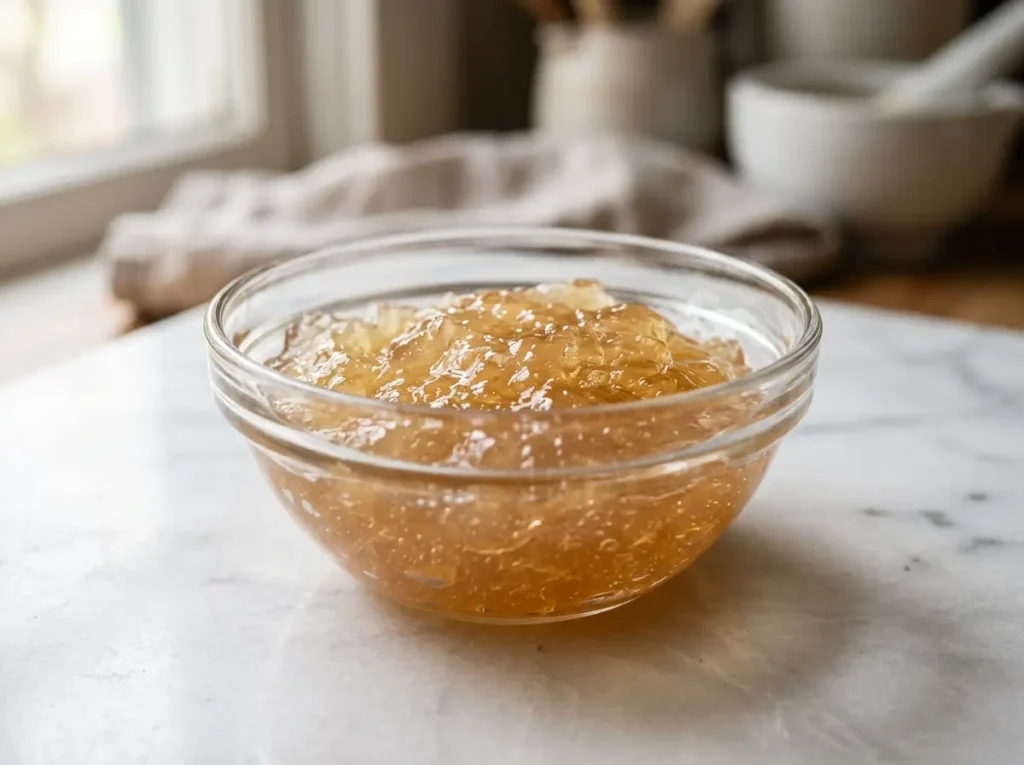
Table of Contents
Table of Contents
Key Takeaways
- Blooming gelatin means softening it in cold liquid for 3 to 5 minutes before it dissolves in something warm.
- The standard ratio is about 4 to 5 parts cold liquid to 1 part powdered gelatin by weight.
- Bloom strength, measured on a scale from roughly 30 to 325, tells you how firm your finished gel will be.
- Skipping the bloom step causes clumping, uneven texture, and a gel that never fully sets.
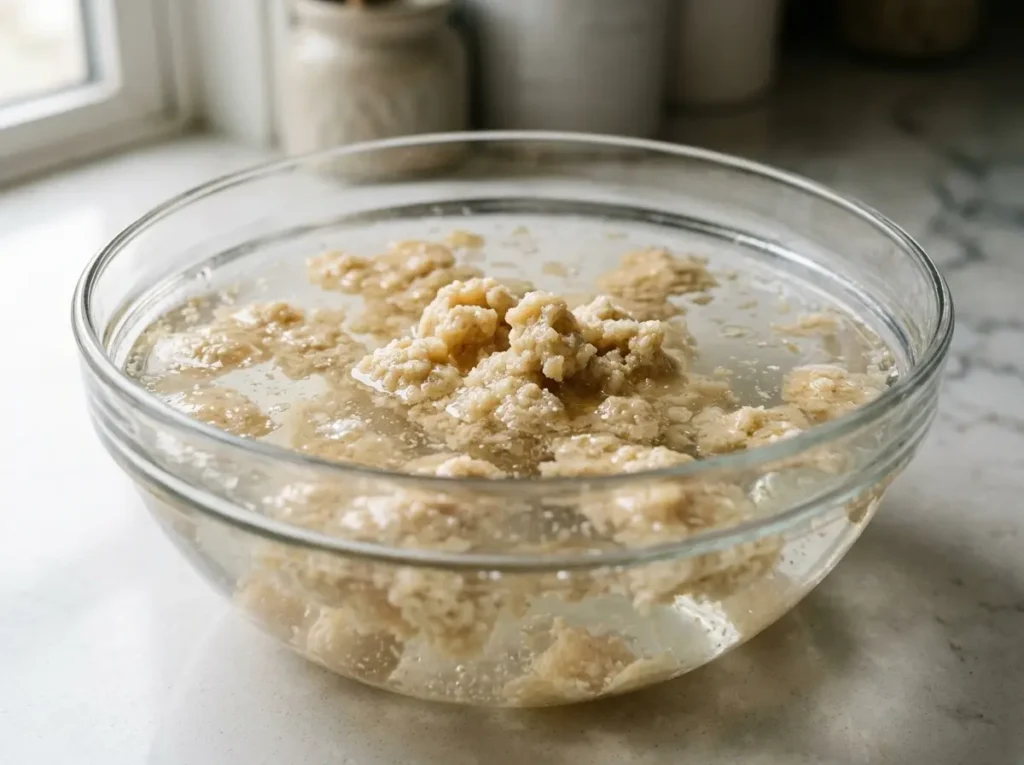
- Bloomed gelatin should look soft, slightly swollen, and jelly-like before you add heat.
What Is Bloom Gelatin?
Bloom gelatin refers to two connected things: the process of blooming gelatin in liquid, and the bloom strength scale used to measure how firm a particular gelatin will set. When home cooks say they’re going to “bloom” their gelatin, they mean soaking the powder or sheets in cold liquid so the granules absorb moisture and soften before they hit heat. Skip this step and the proteins seize up unevenly when they meet warm liquid, leaving you with rubbery strands instead of a silky gel.
The word bloom actually traces back to a scientific test. In 1925, chemist Oscar T. Bloom developed a method for measuring gel firmness, and gelatin manufacturers still use his name for the scale today, ranging from about 30 Bloom on the soft end to 325 Bloom for the firmest commercial-grade gelatin.
Answer capsule: Bloom gelatin means soaking gelatin powder or sheets in cold water for 3 to 5 minutes so it softens evenly before dissolving in warm liquid. This step prevents clumps and helps the finished gel set smooth and firm. Always use cold, not warm, liquid for this stage to get the best texture.
Ingredients You Need to Bloom Gelatin
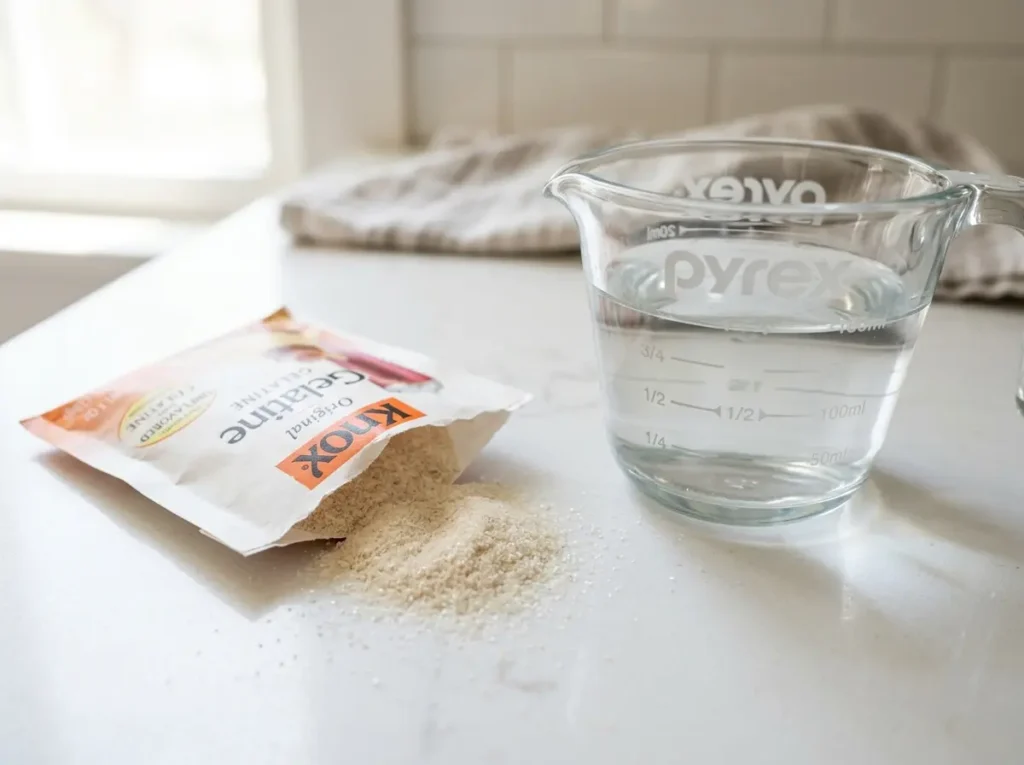
You only need two things to bloom gelatin properly, and both are pantry basics.
- 1 envelope (about 1/4 oz) unflavored gelatin powder, such as Knox brand
- 1/4 cup cold water, per envelope of gelatin
- Optional: cold fruit juice, herbal tea, or broth in place of plain water, depending on your recipe
The gelatin most home cooks buy in the US falls around 200 to 225 on the bloom strength scale, similar to what professional kitchens call gold-strength gelatin. According to the FDA’s food substance database, gelatin is classified as Generally Recognized as Safe and commonly used as a stabilizer, thickener, and gelling agent in food production, which is part of why it behaves so predictably once you get the ratio right.
How to Bloom Gelatin Step by Step
Step 1: Measure your cold liquid
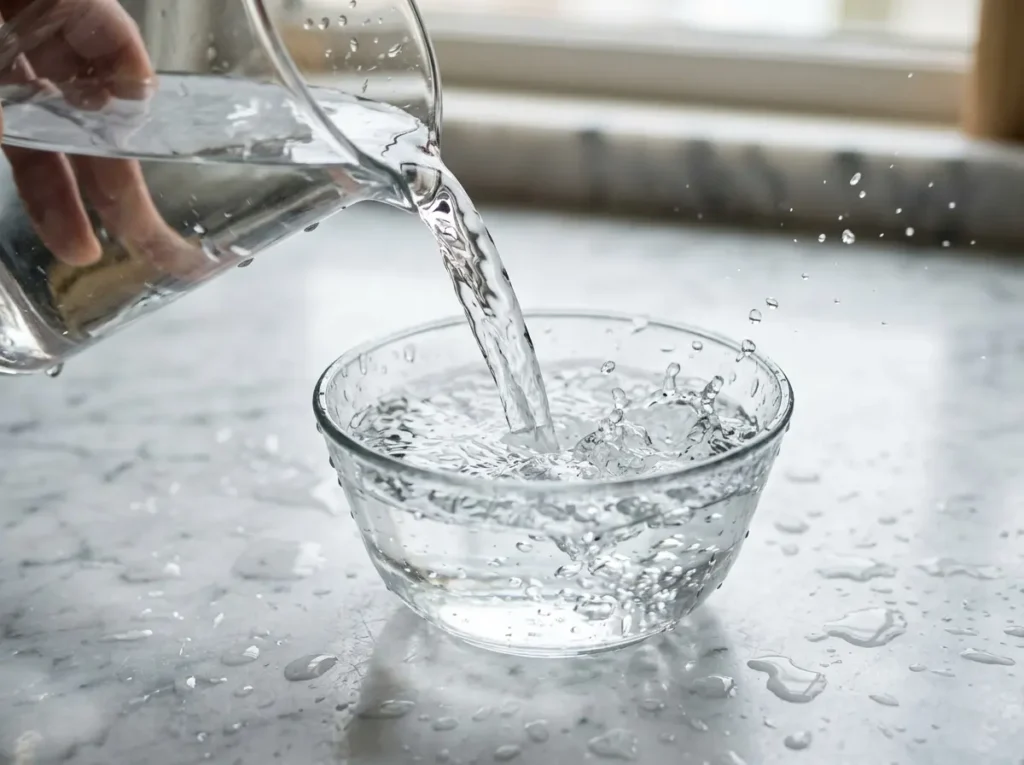
Pour 1/4 cup of cold water, juice, or tea into a small bowl for every envelope of gelatin powder you’re using. The liquid needs to stay cold, straight from the fridge works best. Warm liquid at this stage causes the outer layer of each granule to dissolve too fast while the inside stays dry, and that’s exactly what creates lumps.
Step 2: Sprinkle the gelatin evenly
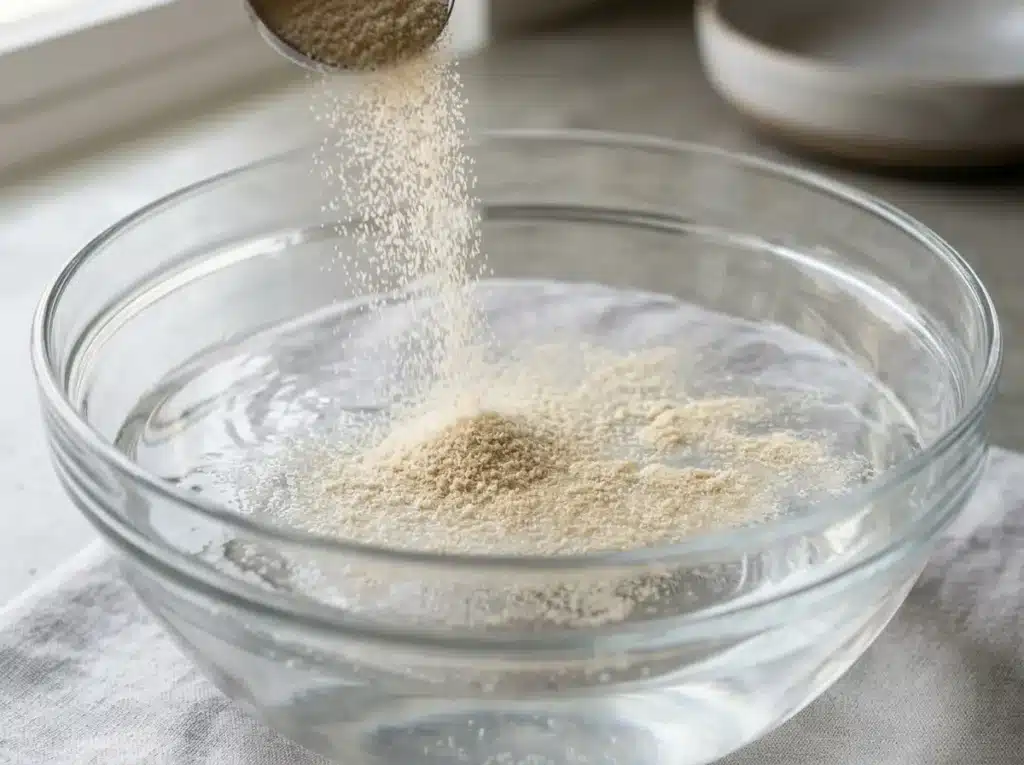
Scatter the powder across the entire surface of the liquid instead of dumping it in one spot. You want a thin, even layer so every granule touches liquid at the same time. If you dump it in a pile, the center clumps together and never fully hydrates, even after you add heat later.
Step 3: Let it sit undisturbed
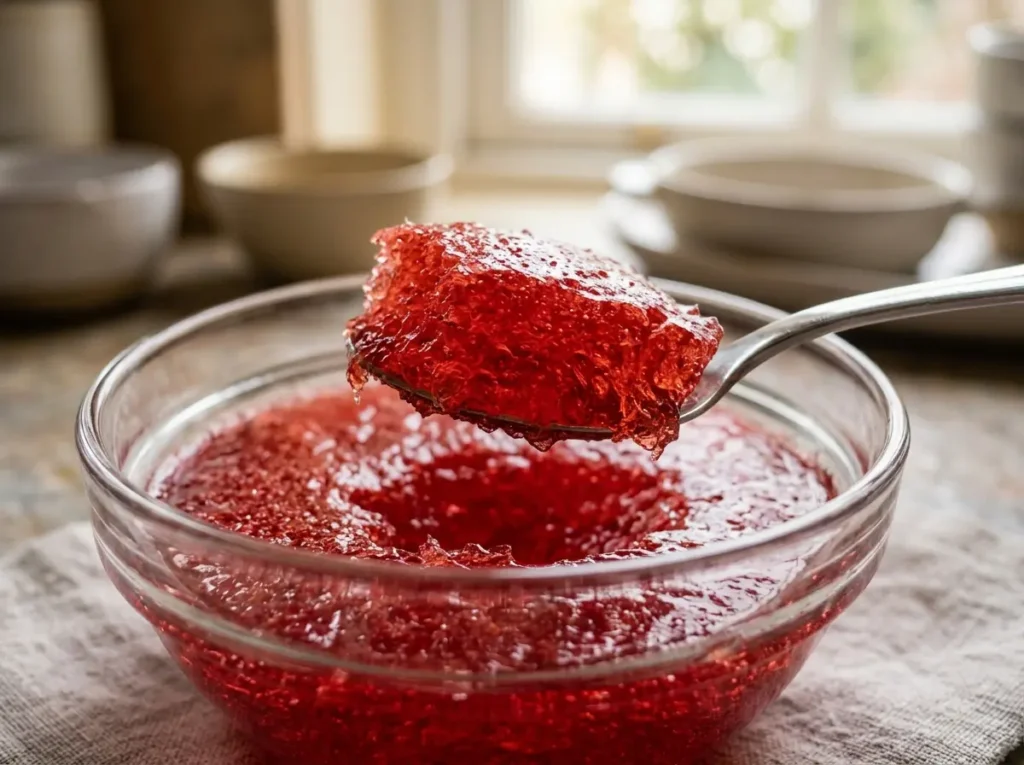
Walk away for 3 to 5 minutes. Do not stir. The gelatin needs this time to absorb the liquid on its own. You’ll notice the mixture turning thick and slightly wobbly, almost like a soft, pale jelly. That texture change is exactly what tells you it’s ready.
Step 4: Check for the right texture
Bloomed gelatin should look swollen, spongy, and cohesive, similar to a firm sponge that holds its shape when you nudge it with a spoon. If it still looks powdery or grainy in spots, give it another minute or two before moving on.
Step 5: Dissolve it in warm liquid
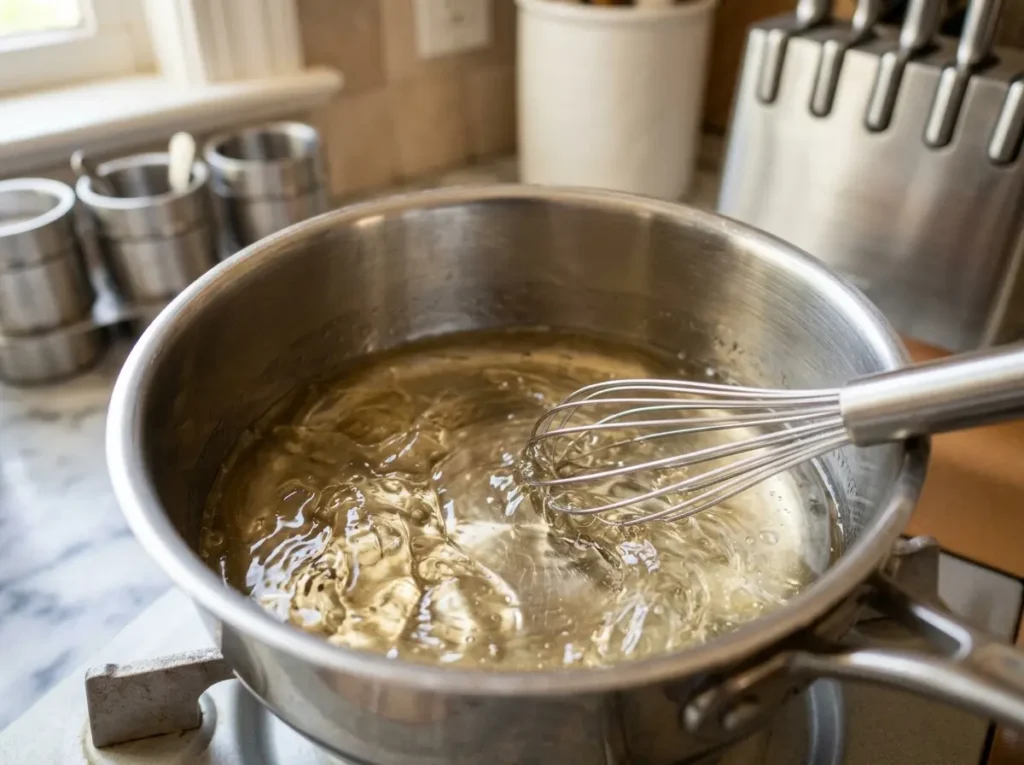
Once bloomed, add the softened gelatin to hot liquid, ideally between 140°F and 180°F, and whisk gently for 60 to 90 seconds until it turns completely clear with no visible strands. This is the same technique I use in my Gelatin Water Trick Recipe, and the clarity is your best visual cue that it dissolved correctly.
Print
How to Bloom Gelatin: The Simple Trick Behind Every Perfect Gel
- Total Time: 7 minutes
- Yield: 1 cup bloomed gelatin base 1x
Description
Learn how to bloom gelatin correctly with this simple, tested method for silky, clump-free gels every time.
Ingredients
- 1 envelope (about 1/4 oz) unflavored gelatin powder
- 1/4 cup cold water
- Optional: cold fruit juice, herbal tea, or broth in place of water
Instructions
- Measure 1/4 cup cold water or liquid into a small bowl.
- Sprinkle gelatin powder evenly across the surface of the liquid.
- Let it sit undisturbed for 3 to 5 minutes without stirring.
- Check that the gelatin looks soft, swollen, and jelly-like.
- Add the bloomed gelatin to warm liquid between 140 and 180 degrees Fahrenheit and whisk gently until fully clear.
Notes
Store bloomed and dissolved gelatin in the fridge for up to 5 days.
Sheets bloom the same way but need 5 to 10 minutes and should be squeezed of excess water before dissolving.
Try this base in the 3-Ingredient Gelatin Recipe or the Gelatin Water Trick Recipe for a finished dish.
- Prep Time: 5 minutes
- Cook Time: 2 minutes
- Category: Wellness
- Method: Stir & Dissolve
- Cuisine: American, Family Heritage, Wellness
Nutrition
- Serving Size: 1 cup
- Calories: 25
- Sugar: 0g
- Sodium: 0mg
- Fat: 0g
- Saturated Fat: 0g
- Unsaturated Fat: 0g
- Trans Fat: 0g
- Carbohydrates: 0g
- Fiber: 0g
- Protein: 6g
- Cholesterol: 0mg
Gelatin Bloom Strength Comparison
| Gelatin Type | Approximate Bloom Strength | Best Used For |
|---|---|---|
| Bronze | 125–155 | Soft mousses, light custards |
| Silver | 160 | Standard home baking, panna cotta |
| Gold (most US powder) | 190–220 | Everyday gelatin snacks, gummies |
| Platinum | 235–265 | Clear consommés, firm gummies |
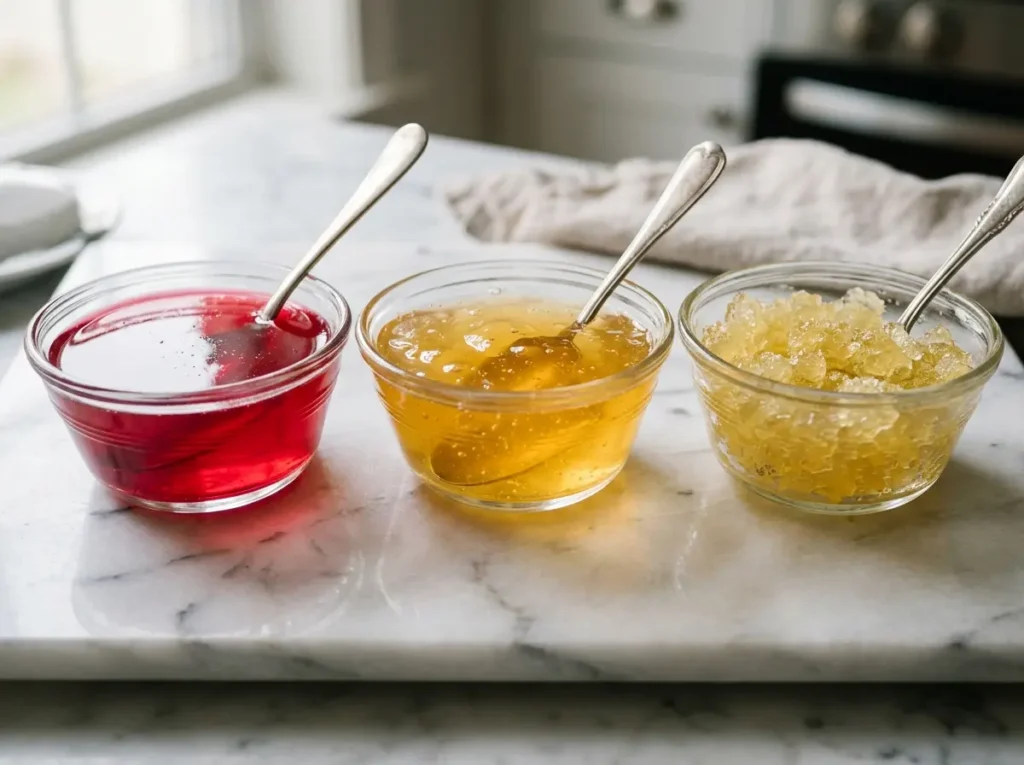
Most grocery store gelatin, including Knox, falls in the gold range, which is exactly what most home recipes are written for. For reference on nutrition and protein content across gelatin products, the USDA FoodData Central database is the most reliable free source I’ve found for checking values before I write them into a recipe card.
Why Blooming Gelatin Actually Matters
Blooming isn’t a step somebody invented to slow you down in the kitchen. It solves a real chemistry problem. Gelatin is made of collagen proteins that need to absorb water slowly and evenly before they can unwind and reform into that smooth, jiggly network we associate with a good gel. Add gelatin straight to hot liquid and the outside of each granule cooks too fast, sealing in dry powder that never fully hydrates.
There’s also a nutritional reason people reach for gelatin beyond texture. Research published through the National Institutes of Health found that gelatin supplementation, when paired with a source of vitamin C, helped increase collagen synthesis markers during exercise recovery. That’s one reason gelatin shows up in wellness routines and not just dessert recipes, including in my own Bariatric Gelatin Recipe, where texture and digestibility both matter.
Bloom Gelatin for Meal Prep
If you make gelatin snacks or desserts regularly, blooming ahead of time saves real effort during the week. I usually bloom a double batch of gelatin on Sunday afternoon, then dissolve and portion it into small dishes so I have grab-and-go servings ready for the next few days. It holds well in the fridge for up to five days when covered tightly.
This is the same approach I use when batch-prepping my Gelatin Trick Recipe for the week. Blooming several envelopes at once, rather than one at a time, cuts down on dishes and lets you flavor different batches with different teas or juices while the base technique stays exactly the same.
5 Mistakes to Avoid When Blooming Gelatin
- Using warm water to bloom. I made this mistake myself the first time, and it cost me an entire batch. Cold water only, every time.
- Dumping the powder in one clump. Sprinkle it across the surface so every granule gets even contact with the liquid.
- Stirring during the bloom stage. Let it sit untouched. Stirring breaks up the hydration process before it finishes.
- Boiling the liquid when dissolving. Gelatin loses its gelling power above roughly 200°F, so keep it well below a boil.
- Rushing the bloom time. Three minutes is the bare minimum. Five gives you a more consistent result, especially with a full envelope.
For more troubleshooting on texture issues, my Dr Oz Gelatin Guide covers a few additional fixes for cloudy or overly soft batches. The FDA’s additive documentation is also worth a quick look if you’re curious about how gelatin is regulated in commercial food production, since it explains why the powder behaves so consistently batch to batch.
FAQ About Bloom Gelatin
What does it mean to bloom gelatin?
Blooming gelatin means soaking the powder or sheets in cold liquid for 3 to 5 minutes so the granules absorb moisture evenly before you add heat. This prevents clumping and helps the gelatin dissolve smoothly. Always use cold liquid, never warm, for the best texture.
Can I bloom gelatin in warm water?
No, warm water causes the outside of each granule to dissolve too quickly while the inside stays dry, leading to lumps. Cold water lets the gelatin hydrate slowly and evenly all the way through. Stick to refrigerator-cold liquid for the bloom stage every time.
How long should you bloom gelatin?
Most gelatin needs 3 to 5 minutes to bloom fully in cold liquid. Sheets may need slightly longer, up to 10 minutes, depending on thickness. Check for a soft, swollen texture before moving to the dissolving step.
What is 200 bloom gelatin?
200 bloom gelatin refers to gold-strength gelatin, the most common type sold in US grocery stores, including Knox brand. The number reflects gel firmness on the Bloom scale developed in 1925. It works well for everyday recipes like gummies, panna cotta, and gelatin snacks.
Why is my gelatin still lumpy after blooming?
Lumpy gelatin usually means the powder wasn’t spread evenly across the liquid surface or the water was too warm during blooming. Whisking too aggressively while dissolving can also trap air and create texture issues. Sprinkle evenly, use cold water, and whisk gently when dissolving.
How do you store bloomed gelatin?
Bloomed and dissolved gelatin should be used the same day for best texture, but finished gelatin dishes keep well in the fridge for up to five days in a sealed container. Freezing is not recommended since it can break down the gel structure. Always chill uncovered briefly before sealing to avoid condensation.
Can you bloom gelatin sheets the same way as powder?
Yes, sheets bloom in cold water just like powder, though they typically need 5 to 10 minutes to soften fully. Once soft, squeeze out excess water before adding sheets to warm liquid. This keeps your final ratio of liquid to gelatin accurate.
Conclusion
Blooming gelatin is one of those small kitchen steps that makes an outsized difference. Once you get the cold water ratio and timing down, every gelatin recipe you make turns out smoother, and you’ll stop second-guessing whether your gel will actually set. Try it the next time you make a batch, and pay attention to that soft, swollen texture before you add heat. If you want to put this technique into practice right away, my 3-Ingredient Gelatin Recipe is the easiest place to start.
The content on TasteOurDish.com is for informational and educational purposes only and does not constitute medical or nutritional advice. Nutritional values are estimates only. Always consult a healthcare professional before making significant dietary changes.
About the Author: Chef Elise writes wholesome, family-tested recipes at TasteOurDish.com. She learned to cook watching her grandmother’s hands, and she now tests every recipe in her own kitchen before sharing it with readers.